After installing WordPress in previous part, It is time for us to start taking a close look at how themes are built and how they work.
Of course, the look of all themes is different. But if you were to download many different WordPress themes and open the folders side by side, you’ll see the same hierarchy. There are a couple of required files and a number of files you will likely find in all themes.
the files is detailed in this picture.

Most themes will include both the CORE and STANDARD files. The STANDARD files cover everything both you and your visitors will expect from a blog. Things like permalinked posts and pages, error catching, commenting, and organized archives.
But we starting build a theme who print this phrase “ site is under construction “ with only two CORE files, And a simple theme it would be!
let’s go, open a new folder wp-challenge and add the two CORE files index.php and style.css and a file named screenshot.png with dimension 600px * 450px .
like this:

In the next step put this description at the top of your style.css file:
/*
Theme Name: WordPress callenge    //your theme name here
Theme URI: http://your-website.com/cool-theme/   //theme URL
Description:  Awesome WordPress theme by me
Version: 1
Author: Mohammed Raji       // Author name here
Author URI: https://MohammedRaji.github.io  // Author URL
Tags: super, awesome, cool, sweet, potato nuggets
*/
Now open index.php file and put this code:
<?php
echo " this site is under construction";
?>
Let’s install the theme to your new local website.
installation steps
-
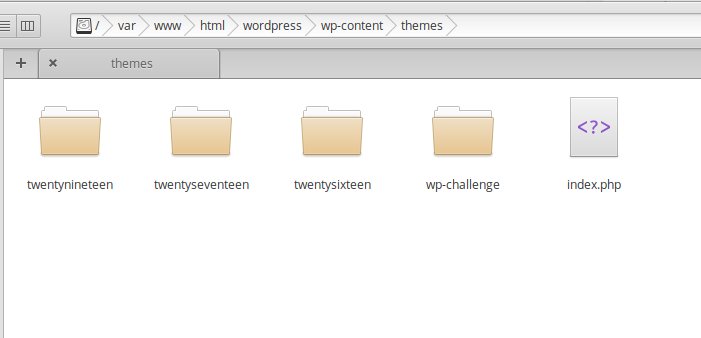
To do it you should place the theme folder into
wordpress/wp-content/themesdirectory.
-
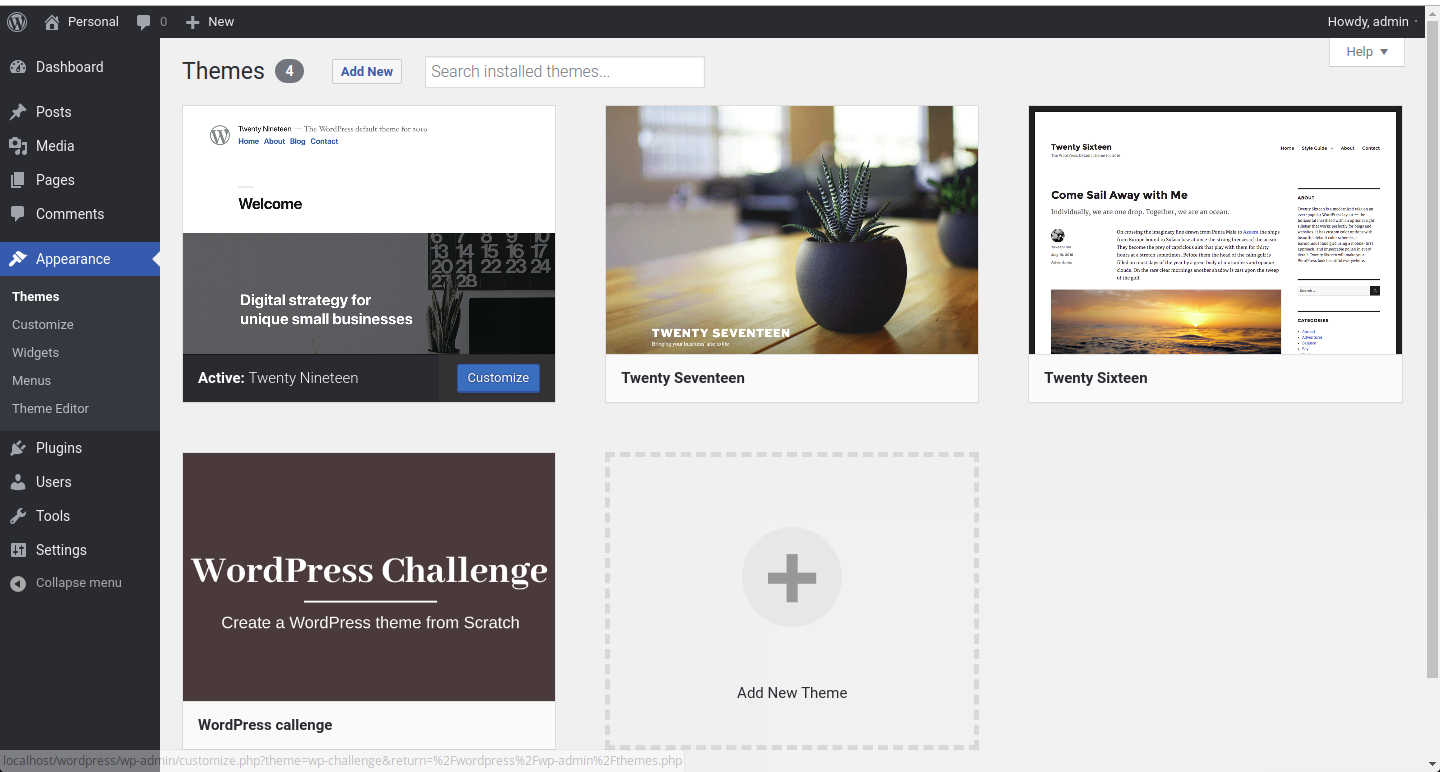
Login to your website’s Dashboard using your username and password and navigate to Appearance > Themes tab in the left column.
-
Now you can see the theme you’ve placed into
wp-content/themesfolder in the list of available themes. Click Activate button in order to activate it on your site.

Now view your first created site at this link http://localhost/wordpress/

Congratulations to you, you have created and installed the first WordPress theme, If you encounter any problems with the installation, you can leave it in a comment.